

3D Printing & New Devices!

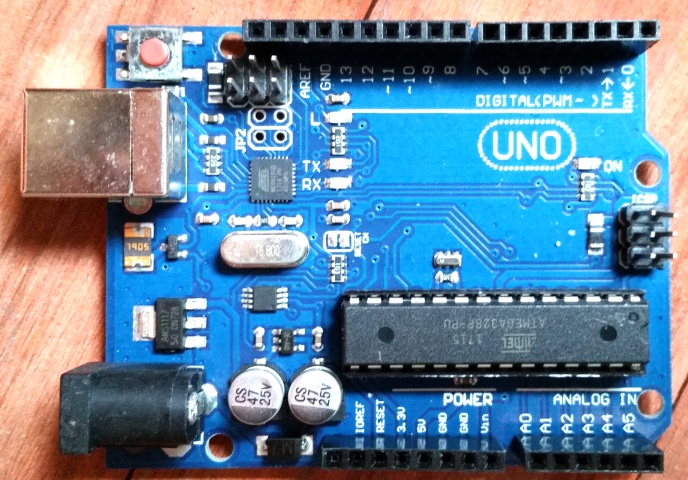
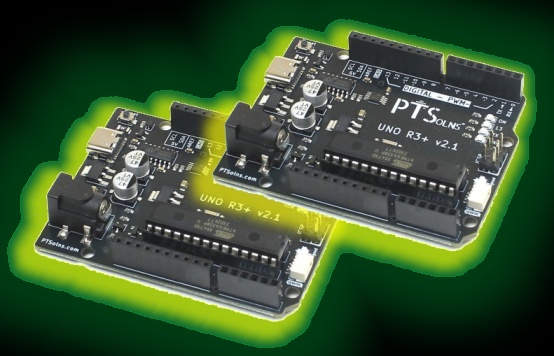
The second half of March was another period of frenzied activity. Exploring new devices for the current system had made one thing very clear: in the few years since this project began, the variety and price of electronics had improved remarkably. This led to a question — was the two-Arduino approach still the right one?
One device in particular stood out: the ESP32. A tiny microcontroller with many times the processing power of the Arduino Uno, at a similar price, with essentially the same range of input and output pins. A bit trickier to work with — but potentially capable of doing the entire job in a single unit rather than two. A couple were ordered, and AI conversations began while waiting for them to arrive. The thinking: recreate the full V2.0 system with a much smaller footprint and fewer components.
That thought led to another. With Bluetooth working so well, what about a version with no physical controls at all — just a tiny board, completely invisible once mounted, driven entirely through the phone app? No display, no knobs, no buttons. The control box would essentially disappear.
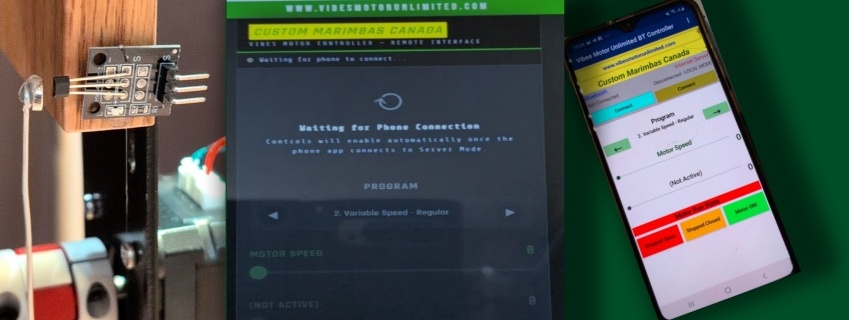
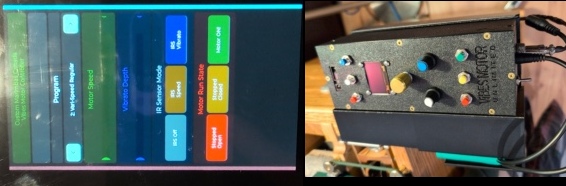
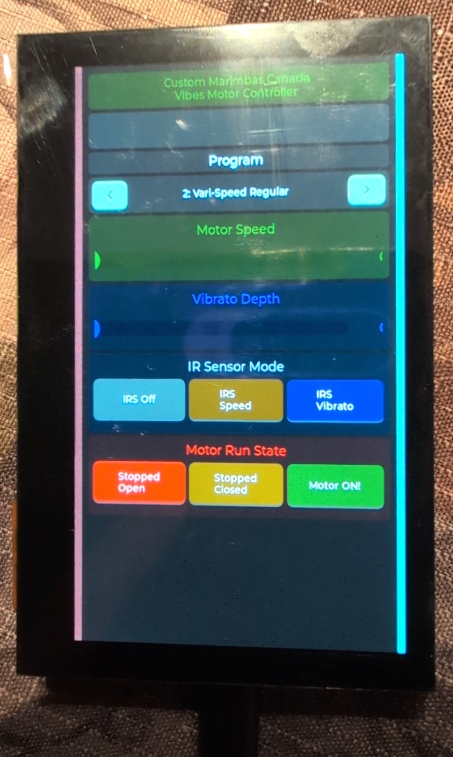
But then came the discovery that changed the direction again entirely. There was a version of the ESP32 that came pre-embedded in a 4.3" touchscreen LCD display unit. Suddenly the phone app concept became something even more interesting — what if the touchscreen itself was the interface? No phone needed. The full control panel built right into the unit. A potential Version 3.
The phone app, right there on the main screen. No separate device. No Bluetooth pairing. Just touch the display and play.
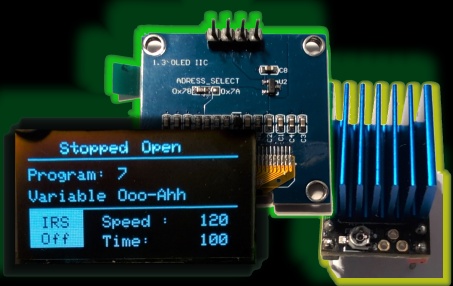
One was purchased and arrived quickly. Learning to programme it with AI assistance turned out to be one of the most challenging parts of the whole project. Almost all of the ESP32's processing power and I/O pins were consumed by driving the display — particularly in portrait mode, which was essential. I²C conflicts and compiling errors appeared at every turn. Eventually, after extensive conversation and trial and error, AI was able to solve the remaining problems — rewriting parts of the base code and some of the device software libraries in the process. The result was a great-looking graphical interface running on a determined set of hardware components.
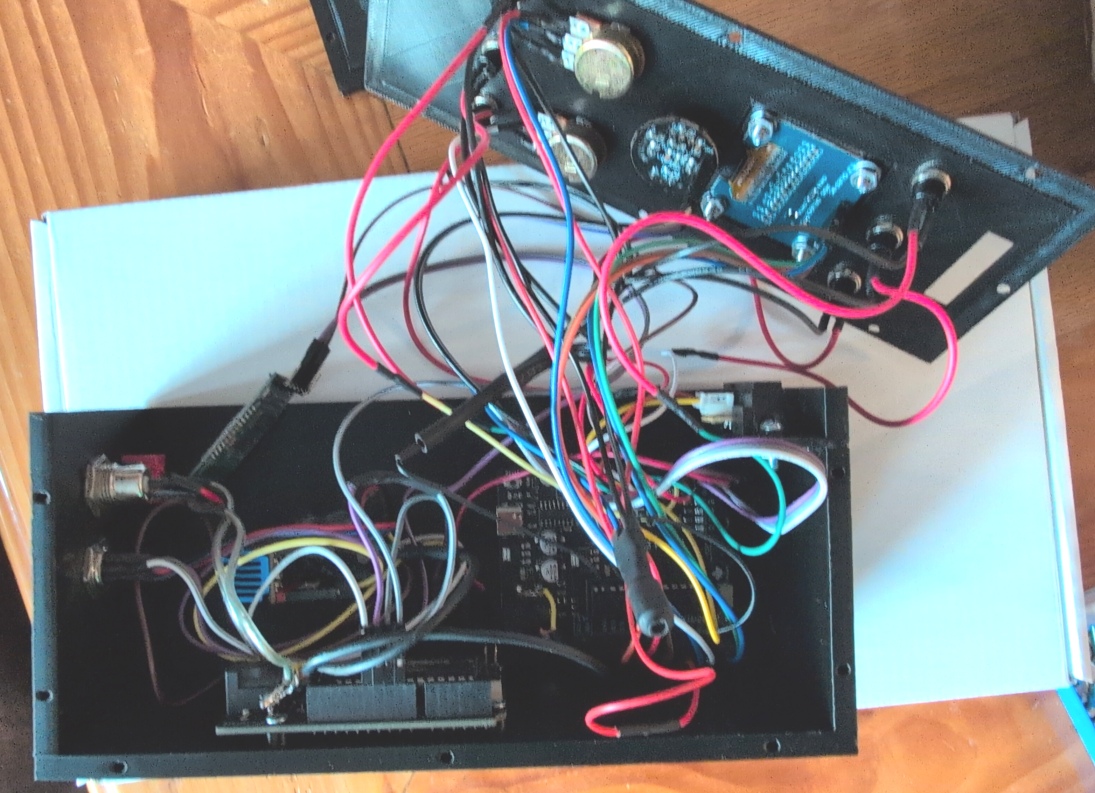
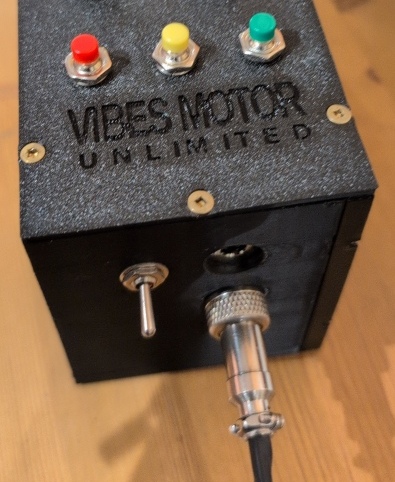
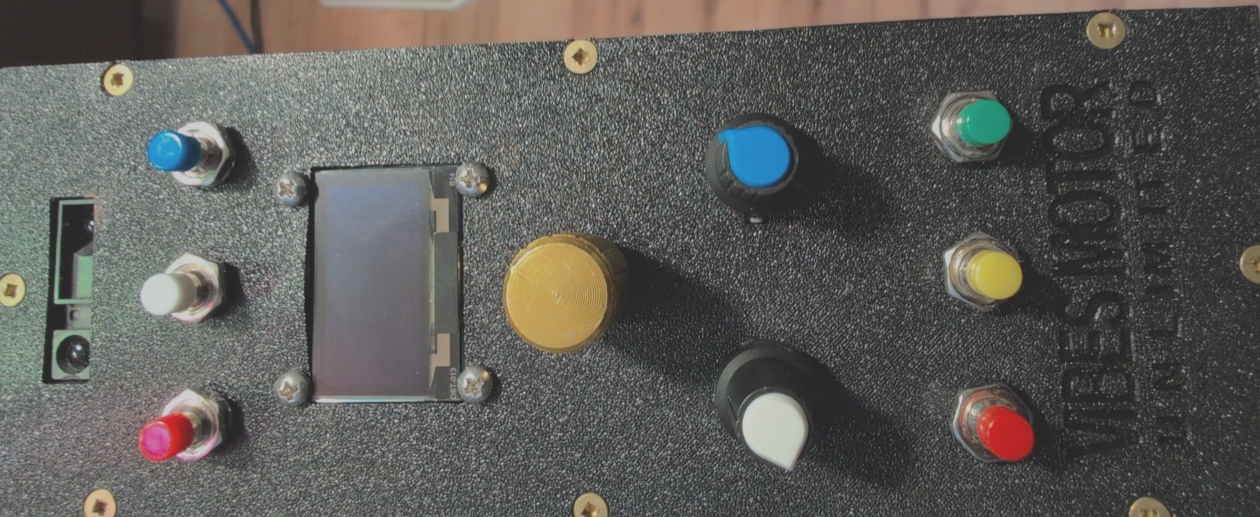
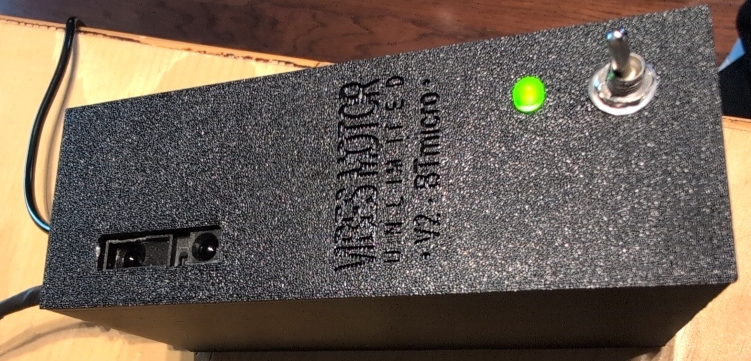
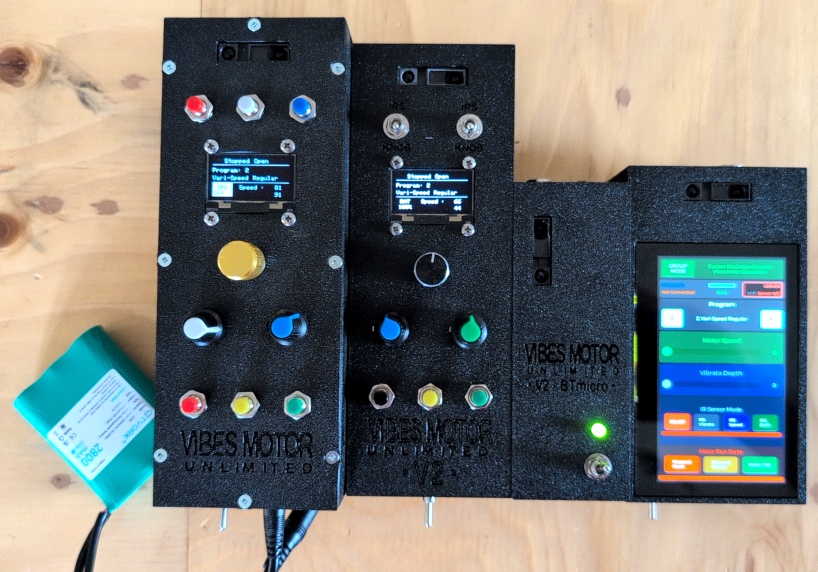
While all of this was happening, 3D printing was becoming an increasingly central part of the workflow. Research into printers and techniques led to purchasing one outright. With the touchscreen version naturally becoming the first full project box, quite a few versions went in the bin before everything was right — micro and macro adjustments to tolerances, fitment, and layout. The final result was a sophisticated enclosure with the LCD screen sitting flush with the face, the IR sensor inset, screw bosses for every PCB, and a built-in compartment for a single 18650 battery. Research confirmed that one cell could run the motor system for several hours and still recharge quickly. A truly self-contained, independent unit — but still rechargeable and connectable to external power.
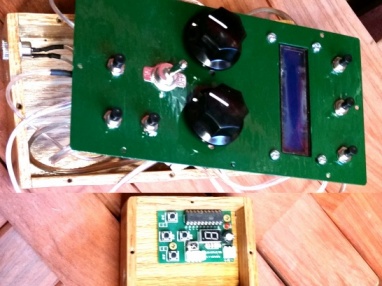
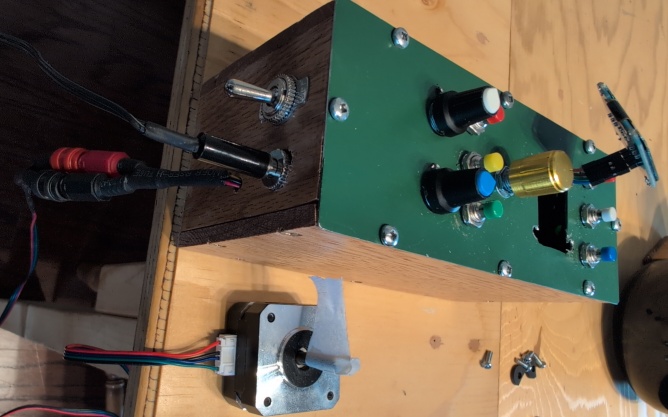
Refining the enclosures also led to a wiring insight. The box had four connections leaving it: power in, power switch, four motor wires, and three Hall effect sensor wires. But the motor and sensor cables both ran to the same part of the instrument — so they could share a single 7-pin combined cable with one connector. Sourcing the right plugs and sockets, and designing the housing cutout to match, gave the whole system a much cleaner and more professional look. Once done on the touchscreen version, the same approach was immediately applied to the original V1 system — a completely new box was designed from scratch for the two-Arduino setup, with improved faceplate layout and screw bosses throughout.


With 3D printing now firmly embedded in the process, the mounting problem that had been left open finally had its answer. Rather than drilling into the frame permanently, a clip-on caddy was designed to hold the control box and simply slide over the frame edge. No screws, no holes, no permanent modifications. Clean, secure, and removable in seconds. The added benefit: a separate clip could be created for every version of the system — each one tailored to its box, and all using the same frame interface. The first full version was made for the new V1 box, and because that system carries its battery externally, a neat integrated battery compartment was built right into the clip itself.