

Final Pieces, Testing & Mounting
By the time March arrived, the system was mostly finished and attention was spreading to other parts of the project — creating the actual product downloads for anyone wanting to build their own (you can get the plans here), and building the website. But there were still some final things to resolve on the unit itself.
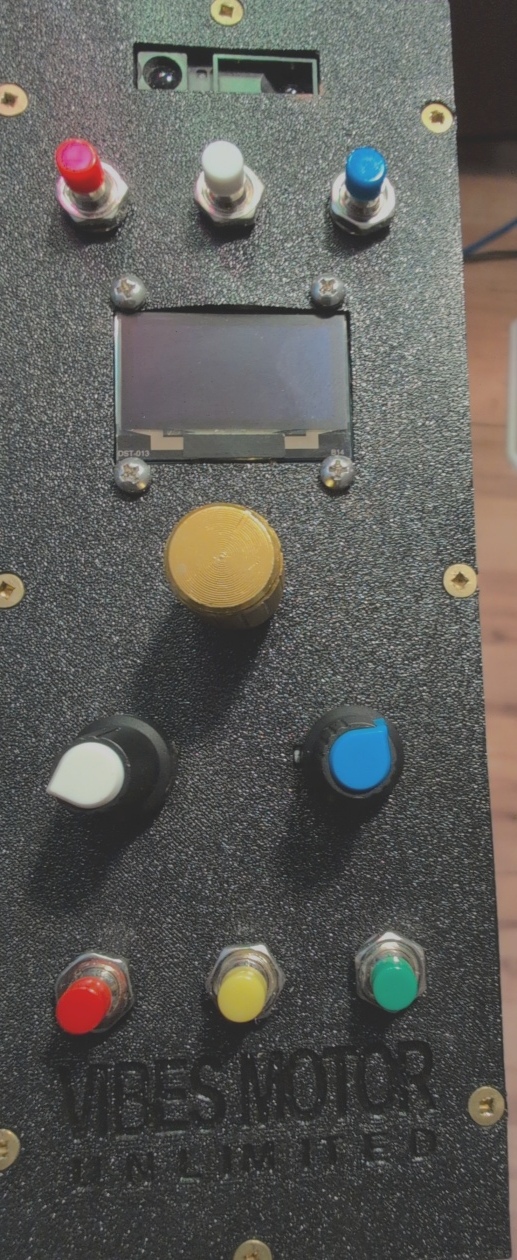
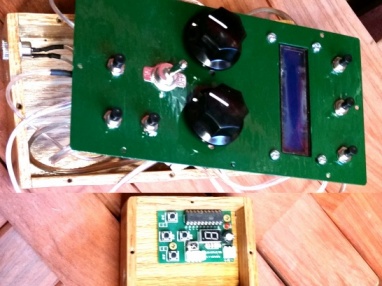
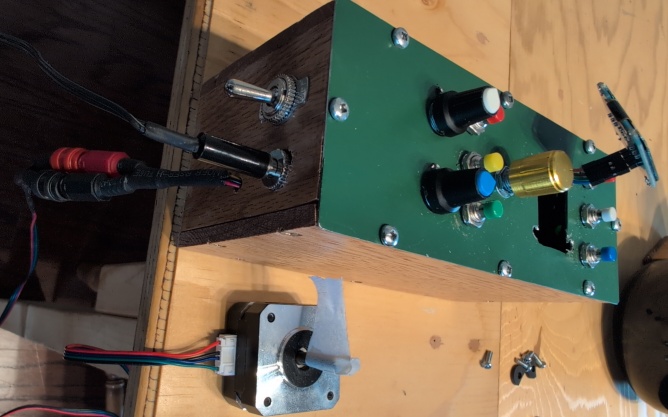
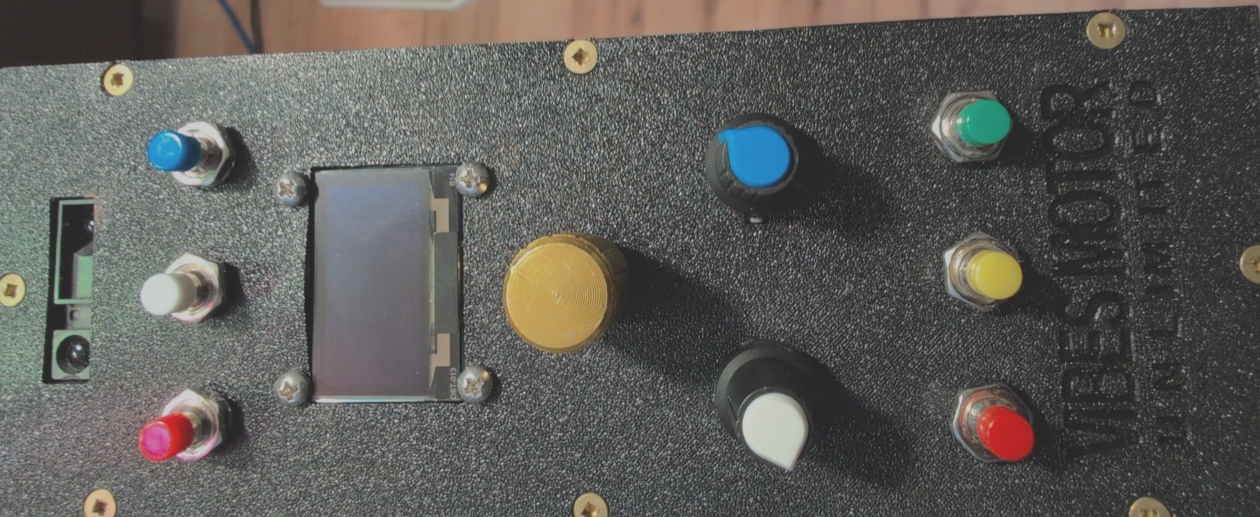
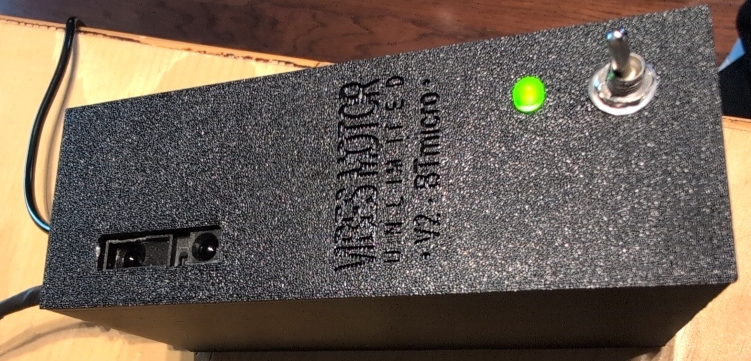
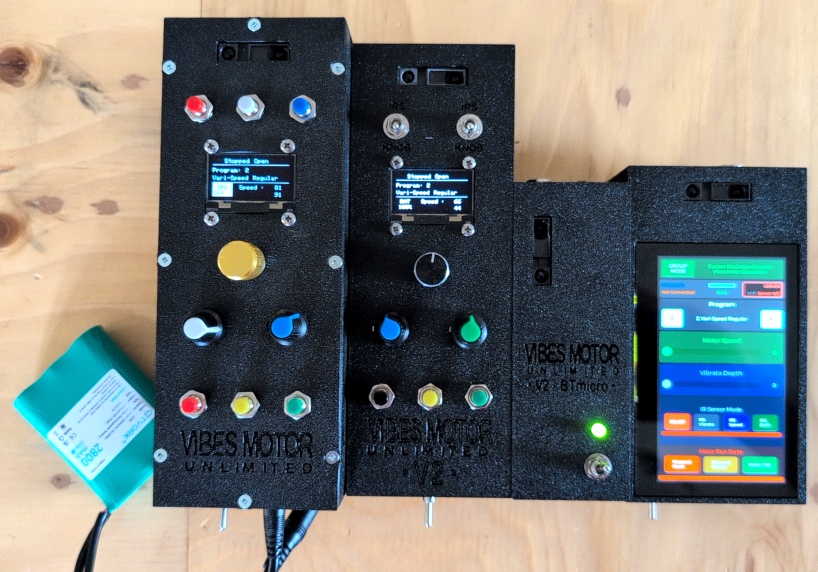
The aluminium faceplate that had been made for the control box was functional but a little rough — and more importantly, not something a DIY builder could easily replicate. The solution was to refine the design and convert it into a 3D printable STL file, which was then printed in a textured black finish. Clean, professional, and reproducible by anyone with access to a 3D printer.
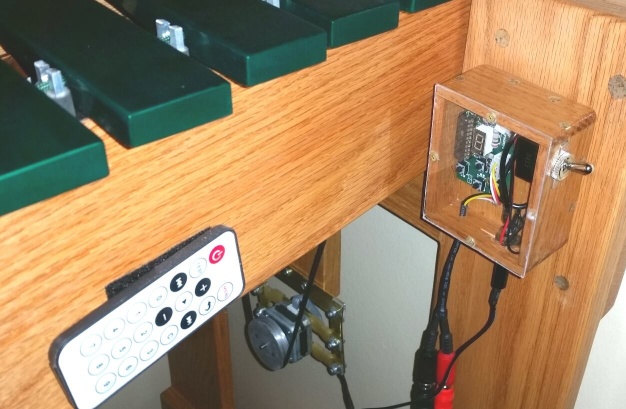
The mounting system also needed sorting out. I didn't like the velcro — not professional enough and not really strong enough to hold the box in the optimal position. I had considered drilling into the top of the frame and putting in nutserts so control boxes could be mounted solidly with L brackets and star knobs — but I really didn't like the idea of drilling into the frame. Too permanent. And now with 3D printing on the menu and other ideas cooking, I wanted to keep options open — so I left the mounting options open for now — but really explored the 3D printing world a lot more. I designed a great faceplate with improved control positions and an inset IR sensor and got a friend to print it — but left the mounting problem for later.
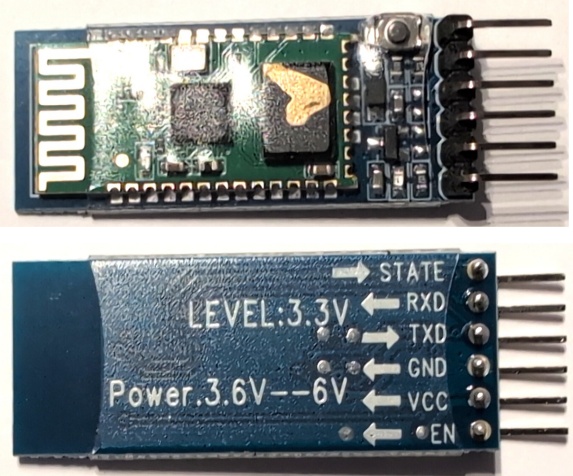
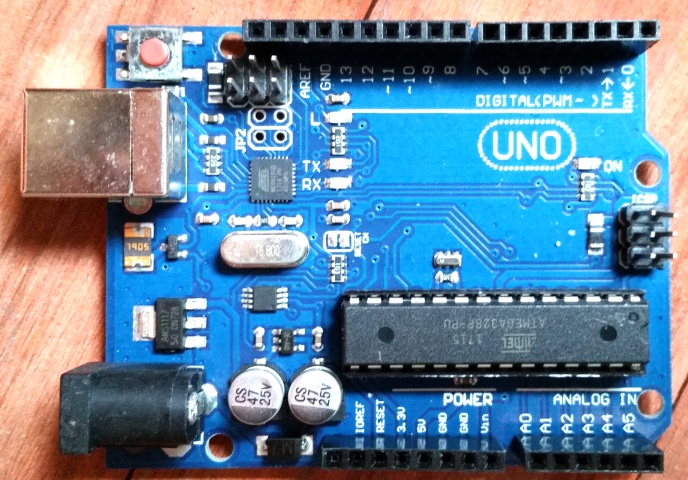
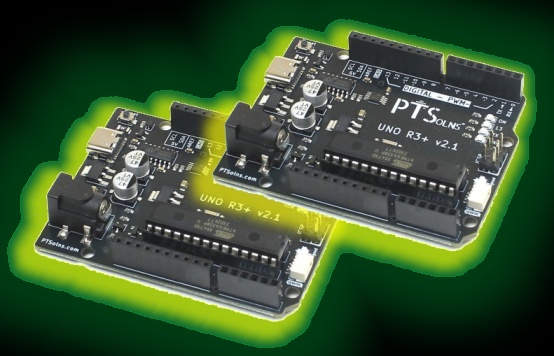
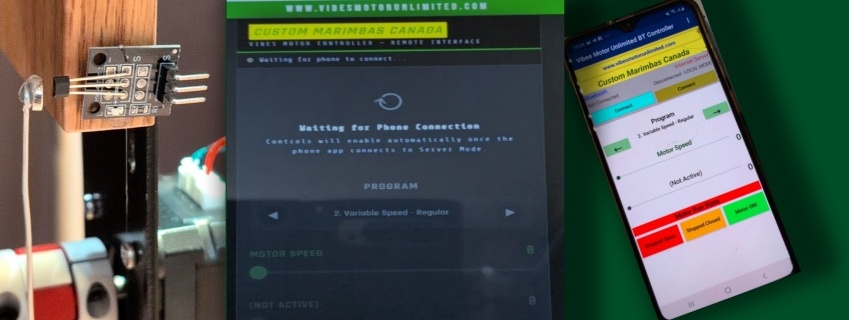
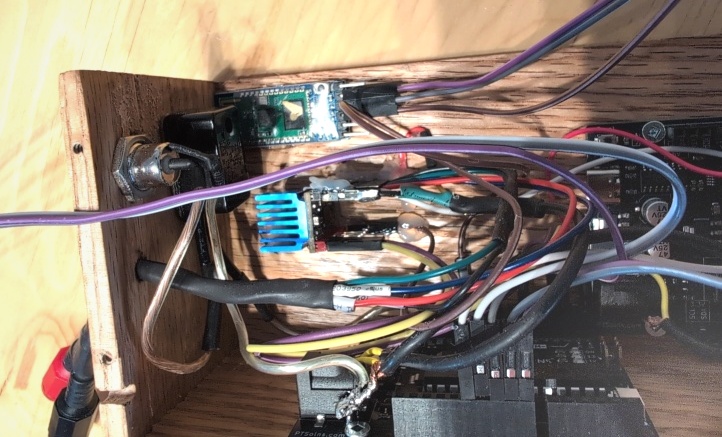
Then, at last, the Bluetooth module arrived. This was the moment everything had been building toward — the ability to actually test all the work done with the phone app and internet server control. The physical connection was straightforward enough, but a small voltage mismatch between the module's 3.3V logic and the Arduino's 5V serial line needed resolving. A simple resistor would have done it — but thinking the problem through properly led somewhere much more interesting.
The motor-driving Arduino was only ever receiving data — never sending it. That meant its receive pin was the only one that mattered, and the lower 3.3V signal from the Bluetooth module was perfectly compatible with it as-is. No resistor needed. But more importantly, this realisation unlocked a better architecture entirely. If the motor Arduino only received, then the interface Arduino only sent — which meant its own receive pin was free. Free to receive Bluetooth data directly.
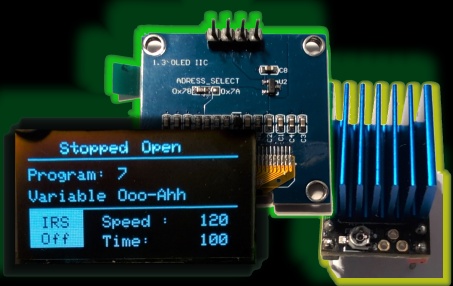
This changed everything. Instead of the physical switch I had originally intended, to toggle between the two Arduinos, the interface Arduino could now receive commands from the phone app on its RX pin, update its own display, and then pass the data packet along to the motor Arduino as normal. The switch was gone. The system was cleaner. The phone app and the physical controls could coexist seamlessly, with the OLED always reflecting the current state regardless of which was being used. Some code updates were needed to make it all work — timing, latency, ensuring the physical controls only overrode the phone data when they were supposed to — but none of it took long.
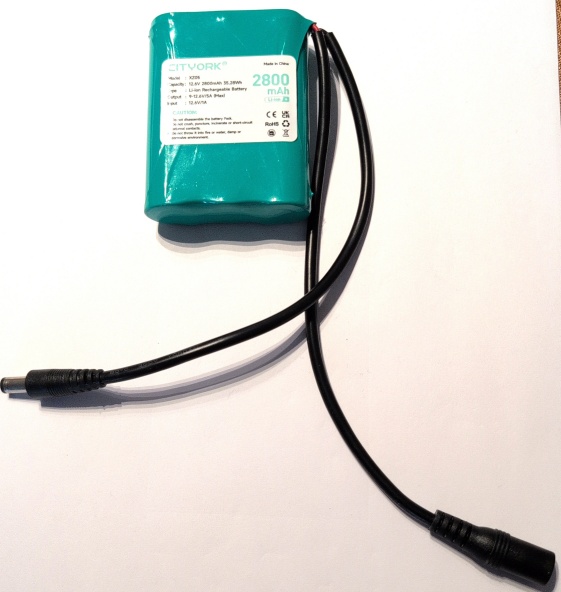
Rechargeable battery that can be used for the system — an easy off-the-shelf solution that keeps the main strength of the very first system.

Then one of the simplest but also foundationally best and coolest additions to the system — a rechargeable battery. Off the shelf, inexpensive, and able to be used instead of a plug-in power source. This one is a nominal 12V — though in actuality a little less — but perfect for the system, and made from three standard 18650 cells. Because of this motor system's efficiency, the battery can actually run the motor all day and then some, and recharge in a fraction of that time. The whole point of the original PV Lite battery-powered motor was now reintegrated in an elegant fashion.
Now the system was fully functional — and better than originally imagined. Every control pathway working. Every feature tested. Portable, silent, responsive, and genuinely complete.
While discussing some final tweaks with Claude AI, I ended up with ideas to take the whole system to another level again. New parts were ordered. Perhaps this system could be even more complete — and simpler to build, and smaller too. I resolved to figure that out.